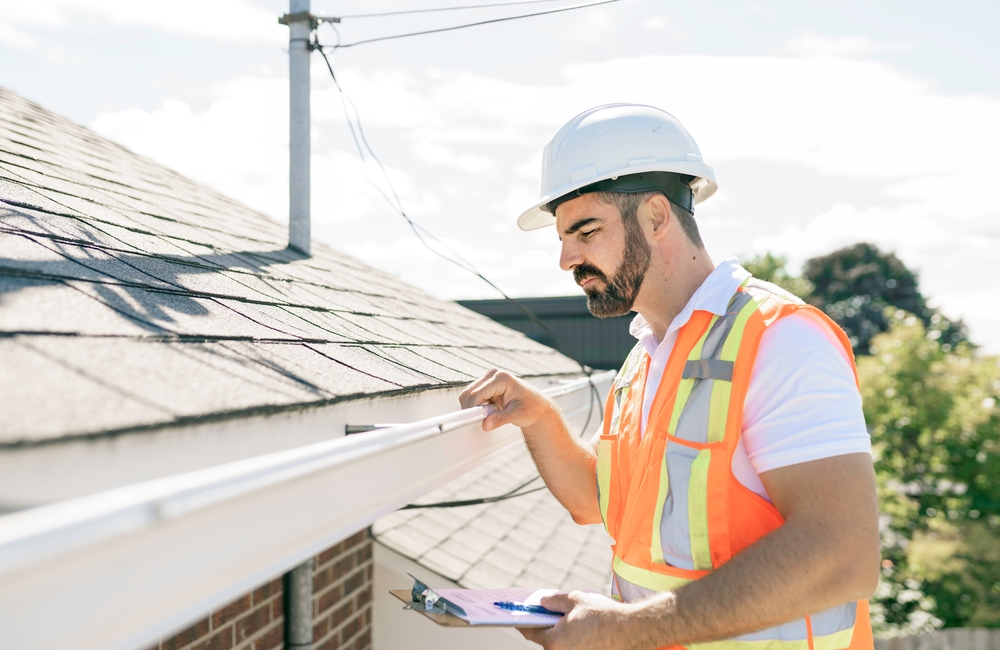
The Best Spring Roof Maintenance Tips

The Best Spring Roof Maintenance Tips

Midwest winters can take a toll on your home’s roof – the ice, wind, and snow wreak havoc on its foundation as it takes the brunt of the season’s climate. The harsh weather can also damage your roof’s shingles, gutters, spouts, and more. 

After a long winter, it may be time for a complete roof inspection to identify any vulnerabilities moving into the spring season. Here are six of the best spring roof maintenance tips we recommend. 

6 Spring Roof Maintenance Tips

#1. Inspect for loose, curling, or damaged shingles and any nails popping out. If any shingles are curling, loose, or damaged, you should replace these right away. If nails are popping out, you should hammer them down. Make sure your shingles are repairable – if they’re too worn out, you may need a roof replacement, depending on the roof’s age and condition.

#2. Inspect Soffits, Fascia, and Vents for animal nests and debris. Soffits are metal or wood panels along the underside of the roof between the wall of the house and the roofline, while fascia is the metal or wood boards along the roofline or behind the eavestrough.

The maintenance and care of both are vital for the life span of a roof, so they’re not to be overlooked. Check whether the soffits or fascia have any soft spots, holes, or damaged parts. Depending on their condition, they may need to be repaired or replaced.

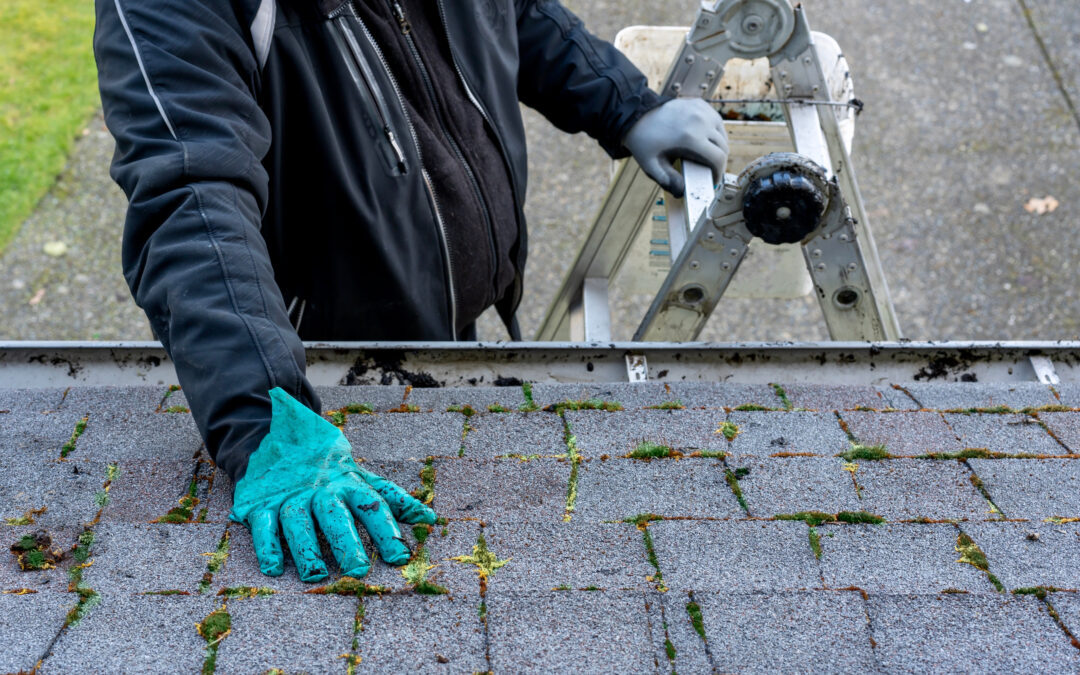
#3. Clean out debris from the roof and gutters. Repair and inspect your gutter system for any leaks. While there are certain details you may be able to identify yourself from ground level, leave any larger cleaning projects to a professional. A professional can remove debris such as nests, branches, and leaves from downspouts and rain gutters to improve drainage, as a buildup will prevent water from draining properly. Excess moisture will cause shingles to degrade and weaken, thus leaving a property susceptible to leaks.

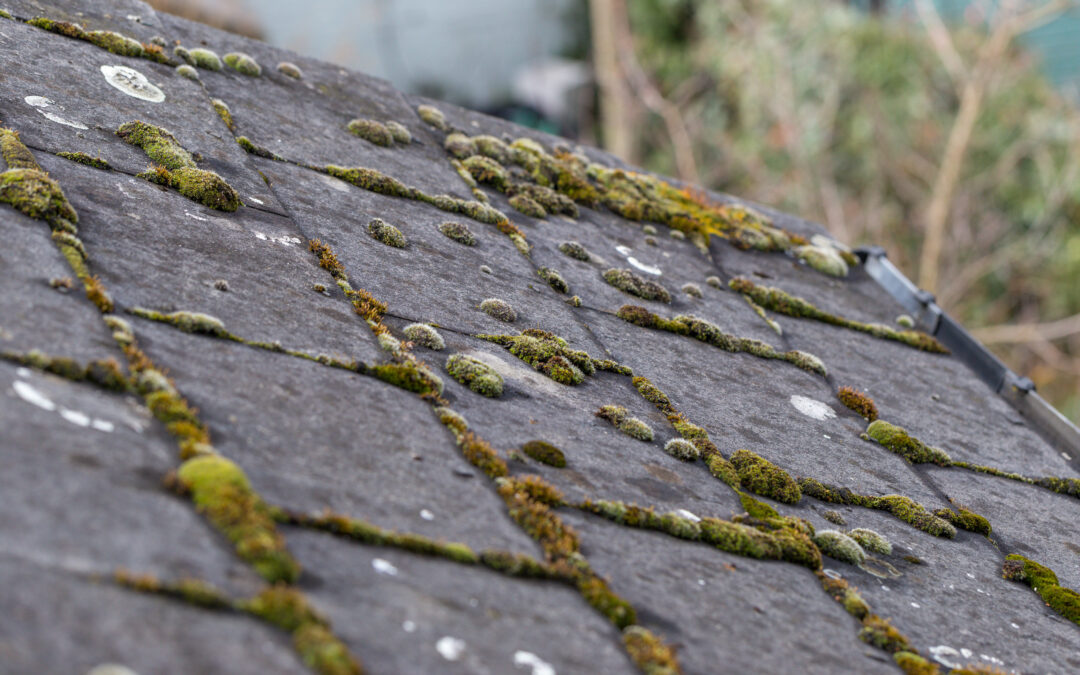
Also, be sure to remove moss or any debris on the roof that can keep your roof moist. Remove any tree branches covering your roofing system to allow sunlight to dry your roof properly. Moisture over time is very damaging to a roof.

#4. Check and repair loose flashing or metal strips that seal gaps to prevent water from seeping underneath your shingles. Flashing connects different elements of a roof, such as skylights, windows, or where two slopes of the roof come together. If the caulk is cracked or there are rust spots on the flashing, both issues must be fixed immediately to keep water damage from occurring.

#5. Check for signs of fungus or algae. If your roof is starting to collect moss or algae, install zinc or lead strips to combat the issue. Moisture gathers on roofs throughout the winter, often leading to mold or algae growth. While inspecting your shingles, make sure to check for signs of growth.

While there are DIY options for mold removal on your roof, we recommend talking to a professional before pouring chemicals or treatments on your roof. 

#6. Document any damages. If you notice ANY roof problems, document them with photos. Your home insurance will be able to cover some roof damage, especially after a storm, but you’ll need to provide evidence of the extent of the damage. It’s also important to note what will need to be fixed by yourself or a professional.

Werner Roofing is Here to Help This Spring

Do you need assistance with your gutter upkeep during the spring? At Werner Roofing, we can help! We can come to your home and inspect the area and let you know exactly what needs to be done so you can have a stress-free spring despite the weather. Give us a call to talk to one of our roofing and gutter experts today.

Here’s Everything You Need To Know About Roofing Contractor Proposals

Here’s Everything You Need To Know About Roofing Contractor Proposals

Finding the right person to install a new roof on your home isn’t always easy. Roofing can be a major expense, so it’s crucial to make sure you choose the right roofing contractor to do the job. Do you know what you should look for in a good roofing contractor and roofing proposal? If not, don’t worry – we’re here to help!

Our Guide to Roofing Proposals

As a homeowner, collecting bids from several roofing contractors and choosing the best fit for your preferred budget, materials, and timeframe is helpful. To select the option that’s best for you, though, you need to know a little about understanding roofing contractor proposals. 

Let’s break down the roofing proposal process so you know exactly what to look at and how to tell which roofing contractor is the best choice for your home.

What Info to Provide for a Roofing Proposal:

First things first – before a contractor can create a proper proposal, they’ll need some information from you first. 

  • Budget – You’ll need to tell potential roofers how much you’re willing to spend on your new roof. Though you might not have a specific number in mind yet, do a little research to see what is reasonable for the material you’re looking for and the size of your home to give potential contractors a ballpark figure to start with.
  • Preferred Material – Are you looking for a metal roof? Asphalt? Or something different, like ceramic tile? Whatever aesthetic you’re going for, you’ll want to let your roofer in on it so they can create a proposal that reflects the end goal. Remember that different materials, finishes, and colors have varying price points.
  • Timeframe – Do you need your roof completed by a specific time? If you’re building a new home, the time frame will be essential because you’ll have to have a roof installed before moving on to interior construction. The timeframe may be more flexible if you’re re-roofing an existing home.
  • Description of any Current Problems Any reputable roofer will inspect your roof before they give you a final estimate. If there are any issues you know about beforehand, you’ll want to share this with potential roofers. Then, they can put the price of those additional fixes into their proposal, giving you a fair look at how much you’ll be spending.

Once you’ve given roofers a basic idea of what you’re looking for in your roofing project, they’ll assemble a proposal and send it to you. The proposal should outline everything the roofer plans to do, when they plan to do it, and how much it will cost.

What to Look For in a High-Quality Roofing Proposal:

When evaluating roofing proposals, knowing what exactly you should be looking for is crucial. Let’s dive in!

  • Materials Used – The roofer should include exactly which roofing materials they plan on using, including the name of the manufacturer, the style of the shingle, and the grade of the material. This will allow you to compare multiple proposals and better understand what quality to expect from each roofer.
  • Scheduling – A roofing proposal should also include a detailed schedule of when everything will happen. Most roofing jobs shouldn’t take that long, but they are inconvenient for those who live in the home, so it’s important to know when roofers will be there and how long it will take them to finish the job.
  • Explanation of Liabilities – A quality roofing proposal should explain any potential liabilities and how the roofer’s insurance will cover those liabilities in the event of an accident. This will tell you what insurance the roofer has. If they don’t have insurance, you’re liable for any injury on your property, and it’s possible your roof won’t comply with the local building code.
  • How Waste Will be Removed – Roofing is a messy job. Nails and shingles are flying everywhere! You need to ensure that whoever you hire has a plan to clean that mess up before they leave, and the proposal should state how they plan to clean up. Many roofers have a giant magnet that picks up any fallen nails, and others make sure to throw all old shingles and waste into a giant dumpster they provide. No matter the method, make sure they offer clean-up, or you may end up paying a lot more.

At Werner Roofing, we prioritize minimizing debris on your property. So, we’ve made significant investments in using tools like the Equipter to keep your home relatively free of debris during the roof replacement process. Learn more about our roofing process here

  • Explanation of Warranty – Roofs often have multiple warranties. There’s a warranty on materials and another on the work the roofer and crew complete. The proposal should outline the specifics of each warranty and explain what is covered under each warranty. 
  • How the Roof Will be Paid For  – A quality proposal outlines what you must pay and when. Some roofers take payment in installments, while others prefer part up front and the second part when the work is completed. 
  • Additional Costs – If there are any additional costs associated with your roofing job (repairing subroofing, installing flashing around the chimney, etc.), the proposal should also outline those. 

Things to Double-Check Roofing Proposals For:

While everything on a roofing proposal is important, there are a few things you’ll want to double-check for. Remember that a quality roofer should already include these items. A shadier roofer might leave them out to get your business and charge you more later.

  • Itemized List of Costs – Not every roofer offers an itemized list of costs automatically, but if you’re comparing bids, it’s a good thing to ask for. An itemized list tells you exactly what you’re paying for each aspect of your roof, from labor to material costs. 
  • Licensure and Workers Compensation – Ensure that any roofer you hire is licensed and provides workers’ compensation to their crew members. This protects you from any liabilities that occur on your property.
  • Acknowledge Regional Nuances – Be mindful of local regulations or variations that might impact the specifics of roofing proposals in your area. These guidelines can influence material choices, installation methods, or waste disposal practices, making it essential to ensure proposals align with local standards. 

Understanding Proposals and Trusting Werner Roofing

In the end, when choosing a roofing contractor, read through each proposal thoroughly. The best roofing contractors will be as upfront as possible with cost estimates. They will have the necessary permits, licensing, and insurance to protect their crew and your home.

If the roofing proposals you’ve been looking at still don’t make sense, feel free to call Werner Roofing. We’ve been working in the area for decades and provide roofing services you can trust. For a free estimate, call our office at 616-844-5382 or request for a free roofing estimate online today!

How to Get Rid of Ice Dams Safely

How to Get Rid of Ice Dams Safely

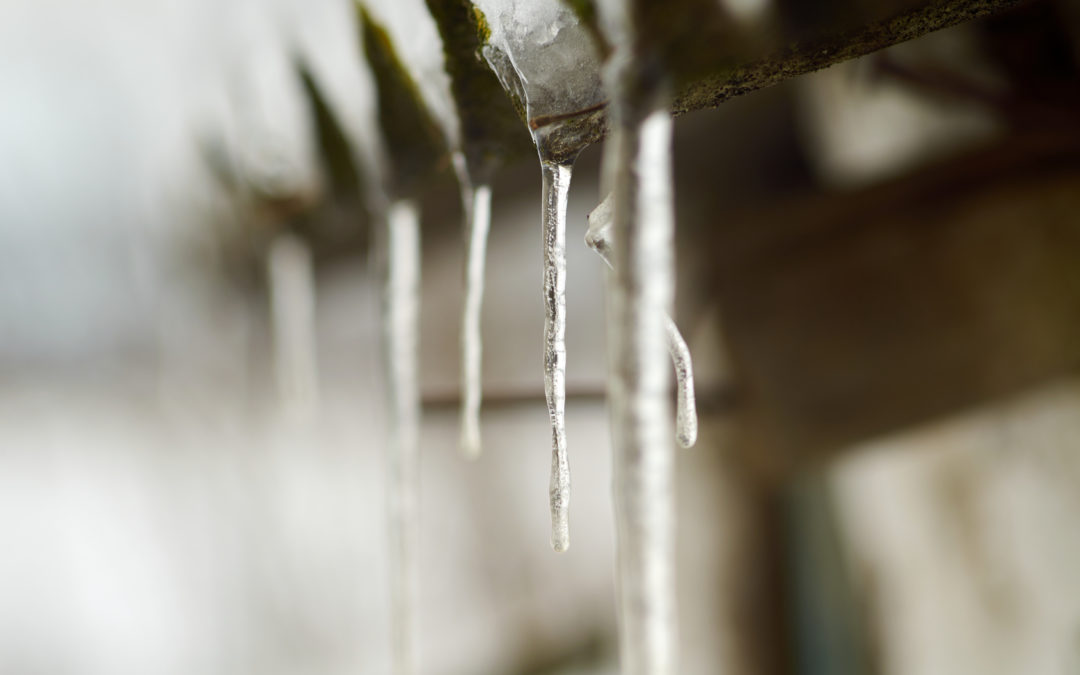
During the winter, ice dams are one of the biggest threats to the safety of your roof. Sure, their long, sparkly icicles might look beautiful from the outside, but they can cause massive amounts of water damage and issues for your roof. 

If you need to know how to get rid of ice dams safely, Werner Roofing is here to help. Check out our step-by-step guide below. 

What Are Ice Dams?

An ice dam is a ridge of ice that forms on the edge of your roof. The ice accumulation blocks the melting snow farther up on your roof from sliding off, causing it to leak through your roof and into the insulation.

If left to their own devices, ice dams can cause significant water damage to your home, destroy gutter systems, and be costly to repair once spring finally shows up. If your home is prone to ice dams, it’s in your best interest to get ahead of them before snowfall builds up, making it impossible to counteract their harmful effects.

How To Get Rid of Ice Dams Safely: 5 Helpful Tricks

While the only long-term solution to ice dams is to have your roofer repair the ventilation or insulation issues within your roof, there are some ways to solve the problem until you can get your roof fixed permanently. 

Important Note: Do not try to hack or chip away at existing ice dams. Not only is this harmful to your roof and gutters, but you’ll also most likely cause more damage by trying to break up the ice with a shovel or ice pick than you are to get rid of ice dams. 

1. Heated Cables

Heated cables are a fantastic fix for ice dams because they essentially stop them from forming in the first place. Place the heated cables in a zigzag pattern vertically on your roof and watch as they melt snow before it even has a chance to freeze and create ice dams.

Heated cables can easily be attached to the roof with clips; the only kicker is you have to ensure you get them in place before the first snowfall. 

2. Blow Cold Air Through Your Attic

When the hot air in your home rises through the roof, snow on the roof will melt and slide down until it reaches the cold edges of your roof, where it will stay and become an ice dam. One effective way to combat this from happening is by pointing fans directly at your roof in the attic, where the problem originates. 

When you cool down the underside of your roof, snow won’t melt in the first place, and ice dams can be prevented from forming. 

3. Rake Snow From Your Roof

Another preventative measure for ice dams is to get rid of the snow on your roof before it has a chance to melt. While this involves a bit of manual labor on your part, it’s a small price to pay for keeping your roof in one piece.

Raking snow from your roof will keep ice dams from forming, but you’ll need to be careful. Purchase a rake specially made to take snow off roofs, and take care not to damage shingles in the process. Most roof rakes are on wheels to protect shingles and are long enough that you can pull the snow off from the safety of the ground. So long as you get out there after every snowfall, your roof will be safe from ice dams.

4. Calcium Chloride Deicer

Deicing your roof is a very effective way to melt ice dams after they’ve already formed. It’s important to remember, though, if you use calcium chloride to deice your roof, you’ll want to protect any plants below the gutters, as they’ll die from overexposure to the chemical.

To effectively deice your roof, fill a nylon stocking with calcium chloride and throw the sock up on the roof so that it lays perpendicular to the edge of your roof. You may need to use a rake or long-handled broom to get the stocking into the correct position, but once it’s up there, you’ll start to see ice dams disappear.

5. Call a Roofing Professional

If you’re not sure you can deal with ice dams effectively on your own, know that you can always call a professional. Most methods for getting rid of ice dams are strenuous and require a bit of time in the frigid Michigan winter weather, so if you’re just not up to that this winter, don’t hesitate to call your local roofing professional. 

The professionals at Werner Roofing will come out and get rid of any existing ice dams for you and set up a solution to keep them away until you have time to fix the roof permanently.

How To Stop Ice Dams From Forming

While these solutions are all great temporary fixes, it’s important to remember that the only way to stop ice dams in their tracks is to get your roof fixed. If they’ve formed once, you’ll encounter them again. 

Whether you’re lacking insulation or your roof isn’t properly ventilated, at some point, you’ll need to call a professional to get your roof fixed permanently so that ice dams don’t form in the first place.

Werner Roofing Is Here To Help.

If you’ve got ice dams, but aren’t sure what the best method for removal is, don’t hesitate to get in touch with Werner Roofing. We’d be happy to help clear them off your roof. If you’re interested in long-term methods of preventing ice dams from forming, we can do that too! Just give us a call at 616-844-5382 or request a free initial estimate online today.

roofing contractor

OUR FREE ROOF INSPECTION

How do you know when it’s time for a new roof? The only way to be sure of your residential roof’s current condition is to have a licensed professional personally inspect it. Werner Roofing is proud to offer free roof inspections for every client, so you can be sure of your roof’s condition. Every Werner Roofing inspection comes complete with our promise: “We won’t recommend or sell a roof replacement unless it’s necessary.” 

It’s Raining, It’s Pouring: How to Protect Your Roof from Rain

It’s Raining, It’s Pouring: How to Protect Your Roof from Rain

April showers bring May flowers — but without proper protection, they can also bring damage to your roof! Here are some steps you can take to keep your roof protected from rain, so your family can stay warm and dry all year long. 

Roof Protection from Rain: 4 Proactive Steps to Take

Many homeowners don’t think about maintaining their roofs until it’s too late and a leaking or flooding disaster has already struck. In order to protect your roof from rain, it’s important to be proactive. Here’s what you can (and should!) do: 

1. Complete Any Necessary Roof Repairs

If your roof is in need of repair, it’s not likely to hold up well against rain. And as more leaks accumulate, you’ll find yourself overwhelmed with costly, devastating damages. That’s why it’s important to complete any necessary roof repairs as soon as possible.

Some possible damages you may look for include:

Once you’ve identified a problem with your roof, you have a choice to make: repair it or replace it. This decision may depend on a few factors, including the extent of the damage, flexibility of your budget, and length of time you expect to live in your home. You may contact a local roofing professional to bring some expertise that could help guide your decision. 

2. Ensure Gutters Are Functioning Properly

Gutters are one of the most important parts of a roofing system, helping direct rain away from your home. Therefore, it’s important to make sure they’re functioning properly.

Generally speaking, gutters regularly need to be cleaned out. Any sticks, debris, or other materials that pile up in them can cause them to clog and overflow, defeating their purpose. You should also check for any leaking, sagging, loose, or improperly sloped gutters that aren’t doing the work you need them to do. 

If you notice that your home doesn’t have gutters, you might wonder if you’re missing some much-needed rain protection. The short answer is, you probably are. While some homes don’t have gutters for particular reasons, most homes in Michigan need gutters. You should contact a local roofing professional to schedule a gutter installation soon. It’s sure to pay off in the long run! 

3. Inspect Flashing Around Skylights

Skylights are capable of adding tons of natural light to your home, making it look more open and bright. However, skylights are also leak hazards, presenting more places for rainwater to seep into your home. Any openings between your skylight and roofing materials can be at risk for leakage. 

That’s why it’s important to install roof flashing around your skylights, or to check it for damage if you’ve already installed it. If you find any cracks or damage, get them fixed by a professional as soon as possible. 

4. Schedule a Professional Roof Inspection

The best way to ensure your roof is in top condition is to have a licensed professional inspect it. They’ll take a look at the interior and exterior of your roof, inspecting any and all of its components — from shingles, to gutters, to weatherproofing. It’s recommended that you schedule a roof inspection every year to ensure any issues are promptly addressed — and there’s no better time to do it than after winter snow has taken its toll and spring/summer rains start to pour down. 

At Werner Roofing, we’re proud to offer free roof inspections for every client. We’ll come out to your home, examine the condition of your roof, and prepare a document that states anything in need of repair or replacement. We’ll advocate for you and your home’s best interests, but we won’t recommend or sell anything that isn’t necessary. That’s our promise. 

If your roof needs extra protection from rain and other unpredictable weather conditions, Werner Roofing can help. Our experts will provide customized recommendations for how you can keep your roof durable and leak-free with various waterproofing and rain management systems. Give us a call at (616) 844-5382 or contact us online for more information. 


roofing contractor

OUR FREE ROOF INSPECTION

How do you know when it’s time for a new roof? The only way to be sure of your residential roof’s current condition is to have a licensed professional personally inspect it. Werner Roofing is proud to offer free roof inspections for every client, so you can be sure of your roof’s condition. Every Werner Roofing inspection comes complete with our promise: “We won’t recommend or sell a roof replacement unless it’s necessary.” 

What Is Roof Flashing?

What Is Roof Flashing?

Your roof is your home’s greatest protector against harsh weather conditions like rain, ice, and snow. But in order to do its job well, it requires a variety of durable, waterproof materials — one of the most notable being roof flashing. 

Roof flashing can make or break your roof’s ability to prevent water creeping inside your home and causing costly damage. Below, we’ll give a little more insight into what roof flashing is, where it’s needed, and what kinds are available.

What Is Roof Flashing?

Roof flashing is a flat, thin, waterproof material (usually steel) that’s placed underneath shingles and is used to direct water away from the most vulnerable areas of your roof. It helps prevent water from entering any openings or cracks on your roof. It’s a great second line of protection to ensure you avoid devastating water damage within your home’s interior. 

What Areas of Your Roof Require Flashing? 

While your entire roof doesn’t always require flashing, there are a few sections of it where flashing is critical. These areas are where openings or cracks are most common, and usually include: 

  • Any roof surface that joins a side or front wall
  • Valleys, or low points where two roof slopes join
  • Protrusions like bathroom vents, chimneys, and skylights
  • Edges, like eaves or rakes

What Are the Different Types of Roof Flashing?

The overall concept of roof flashing stays the same, no matter where it’s placed. However, there are several different types of flashing, and each of them is ideally suited for a specific application within the broad flashing spectrum. 

Below are the eight main types of roof flashing, as well as some information on what makes them unique. 

Base Flashing

Base flashing protects sections of your roof that meet a vertical wall juncture, such as your chimney. Base flashing is installed underneath your home’s siding and shingles, so it’s not easily seen. 

Counter Flashing

Counter flashing is the second piece of base flashing. It’s placed either above or opposite of base flashing to protect it. 

Step Flashing

Step flashing involves L-shaped pieces of flashing that are installed along the corner where your roof meets your sidewall. In most cases, this flashing can be partly seen, so some homeowners choose to find a material color that matches or complements their home’s exterior. 

Continuous Flashing

Also known as apron flashing, this is a singular, long piece of flashing that pushes water away from vertical walls and sloped roofs and then redirects it into a gutter. 

Valley Flashing

Valley flashing uses flashing to line the indent where two sides of a roof come together and form a valley. It directs water away from the valley, down the roof, and into a gutter. 

Kickout Flashing

Also known as diverter flashing, this flashing is used where gutters end against sidewalls. It directs the water into the gutter, instead of letting it run down the sidewall. 

Skylight Flashing

Today, many skylights can be purchased with flashing already attached. However, if yours doesn’t have this feature, you need to do it yourself or hire a contractor to do it for you. It’s an important way of preventing water from seeping into any openings around the skylight. 

Drip Edge Flashing

Drip edge flashing is placed around the edges of your roof to prevent water from dripping behind gutters and counterproductively damaging your roof. 

Looking for more ways to protect your roof from tough weather conditions? Let Werner Roofing help. From flashing to gutter systems, our team of experts can provide recommendations that fit the unique needs of your home. Give us a call or contact us online to learn more

roofing contractor

OUR FREE ROOF INSPECTION

How do you know when it’s time for a new roof? The only way to be sure of your residential roof’s current condition is to have a licensed professional personally inspect it. Werner Roofing is proud to offer free roof inspections for every client, so you can be sure of your roof’s condition. Every Werner Roofing inspection comes complete with our promise: “We won’t recommend or sell a roof replacement unless it’s necessary.” 

How Much Snow Can My Roof Hold?

How Much Snow Can My Roof Hold?

You really can have too much of a good thing! A coating of light, fluffy snow makes everything look like a beautiful winter wonderland, but start piling it on, and things can get not-so-pretty. A lot of snow not only makes shoveling and driving a pain, but can also put stress on your roof, and if enough of it piles up, leaking and damage can occur. 

But how do you know how much snow is too much for your roof to handle, and what can you do to protect your roof from snow damage? Check out our guidelines below before the next snowstorm comes calling.

How Much Snow a Roof Can Hold Depends on the Type of Roof and Type of Snow

Most residential roofs in good condition can hold 20 pounds of snow per square foot. This can vary based on your roof’s age, the materials your roof is made from, and the design of your roofline. The amount of snow that adds up to 20 pounds can vary as well, depending on whether the snow is the fluffy type or that dreaded wet and heavy kind. 

Light snow can weigh around 3 pounds per square foot, so your roof can hold several feet of it. However, wet, packed snow can weigh 21 pounds per square foot — and ice as much as 51 pounds! — which can cause collapse with only inches of accumulation. Signs your roof is straining include:

  • Creaking or popping sounds
  • Doors that become difficult to open and close 
  • Cracks in your walls 
  • Sagging, warped, water-stained, or leaking ceilings

If you spot any of these signs, it’s best to vacate your home and get some help. 

What to Do if Your Roof is Holding Too Much Snow 

On average, every 10 inches of snow equates to 5 pounds on your roof, so once a few feet accumulate, it’s a good idea to avoid any issues by removing some of that weight. However, getting on a snow and ice-covered roof is dangerous, so unless you are able to safely use a rake, broom, or specially designed roof shovel from the ground, don’t try to do this on your own! 

It’s also important to note that removing too much snow can end up causing damage to your roof, which is exactly what you were trying to avoid in the first place! When clearing snow from your roof, you should always leave a couple of inches or so behind to make sure you’re not causing any damage to your shingles.

How to Protect Your Roof From Snow Damage

To keep your roof and everyone living under it safe, you should perform regular inspections to ensure your roof is maintained well and kept in good condition before the snow flies. Once winter arrives and snow starts falling, monitor the amount of snow on your roof and be aware of any signs of trouble. 

Also, watch for the formation of ice dams along the edge of your roof and in gutters caused by melting and refreezing snow. When left unaddressed, ice dams can lead to shingle, structural, and gutter damage; leaks; wet insulation; and mold. 

If you are concerned your roof is holding too much ice and snow and you are unable to clear it from the ground, call in professionals for help. It is the safest way to avoid damage and injury.  

Worried about your roof’s ability to withstand winter weather? Contact the roofing specialists at Werner Roofing. We can provide recommendations to protect your home from snow and ice, or we can help you figure out a solution if your roof has already experienced damage. Give us a call or contact us online today to learn what we can do for you.

roofing contractor

OUR FREE ROOF INSPECTION

How do you know when it’s time for a new roof? The only way to be sure of your residential roof’s current condition is to have a licensed professional personally inspect it. Werner Roofing is proud to offer free roof inspections for every client, so you can be sure of your roof’s condition. Every Werner Roofing inspection comes complete with our promise: “We won’t recommend or sell a roof replacement unless it’s necessary.”